My Shop Isn't Messy, It's Busy

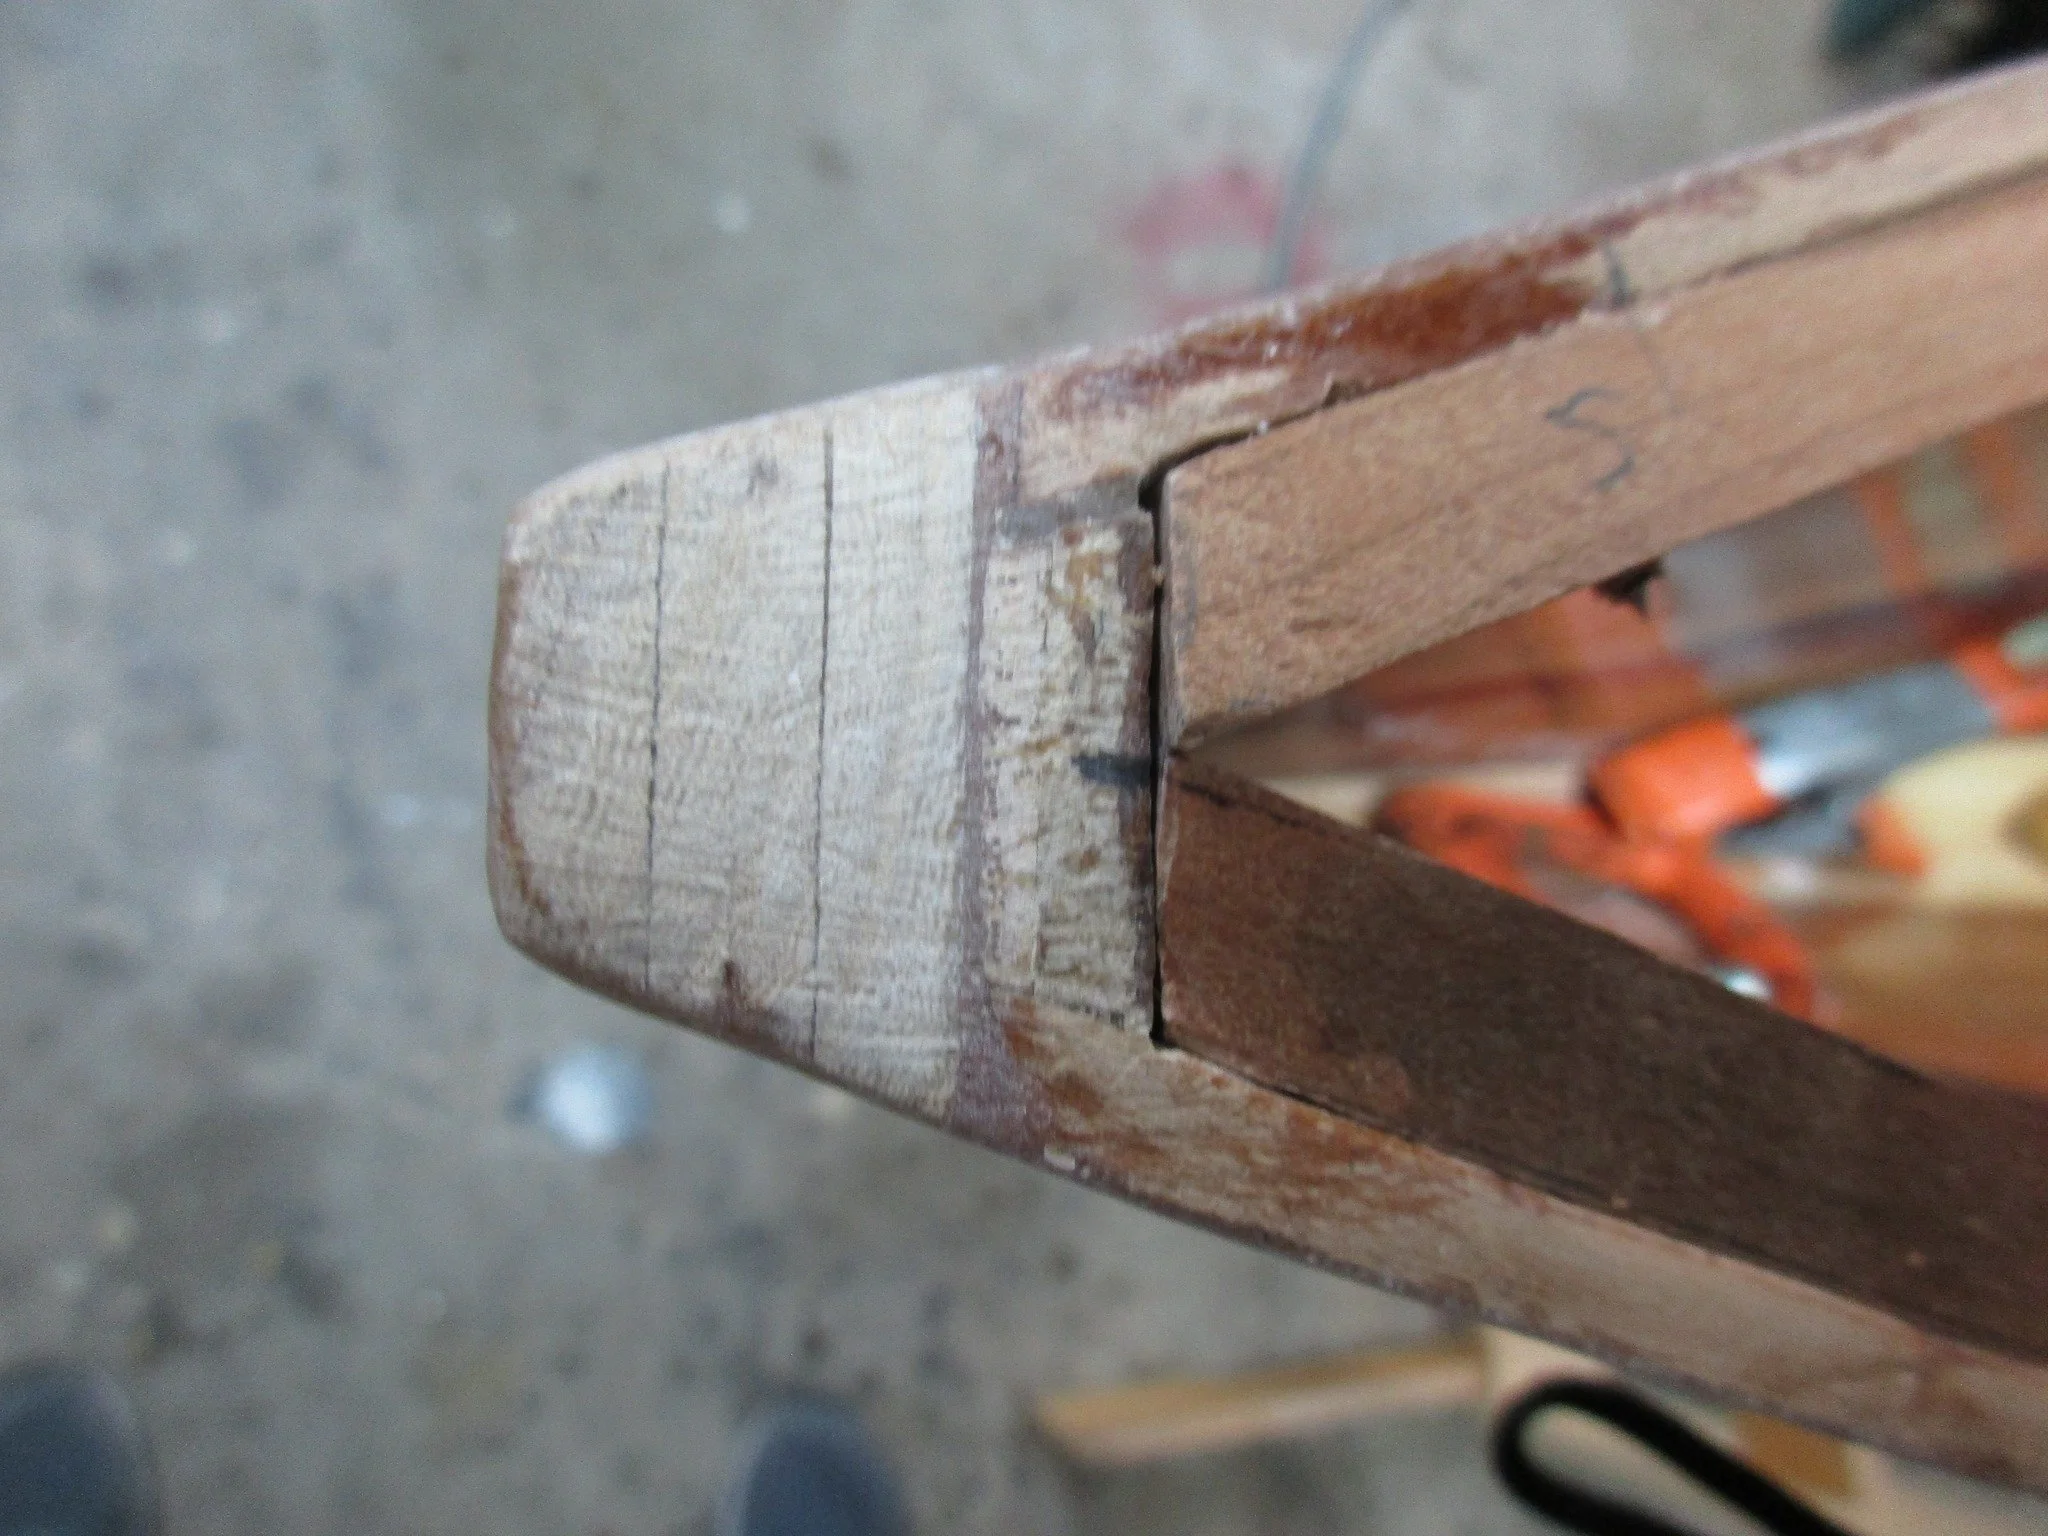
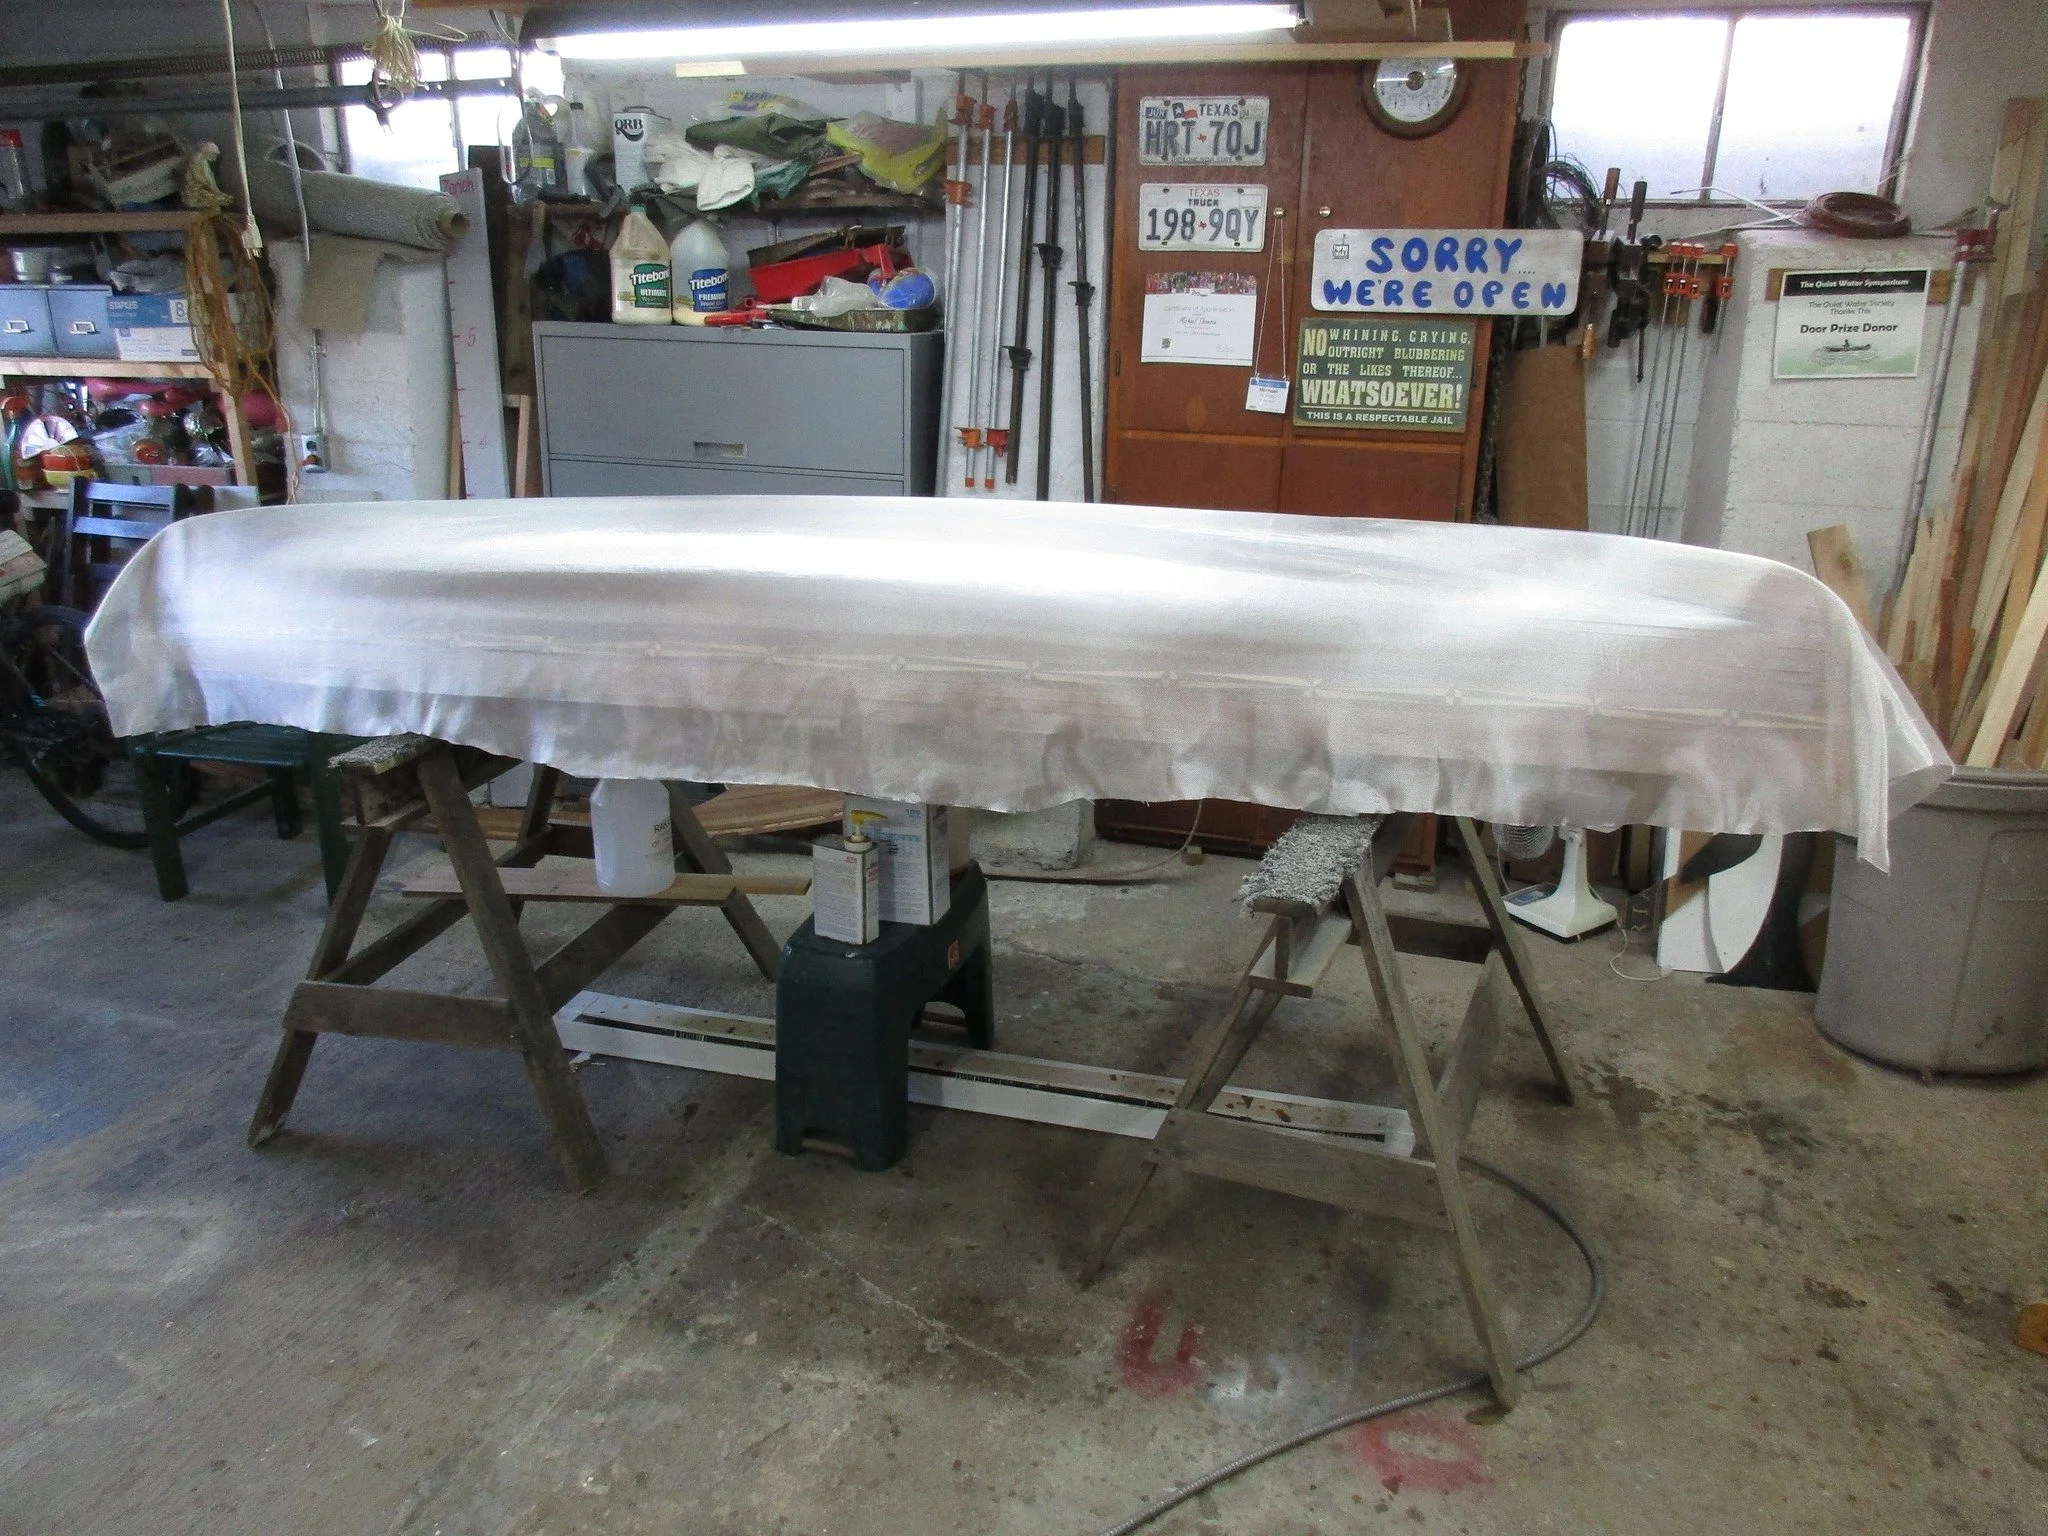
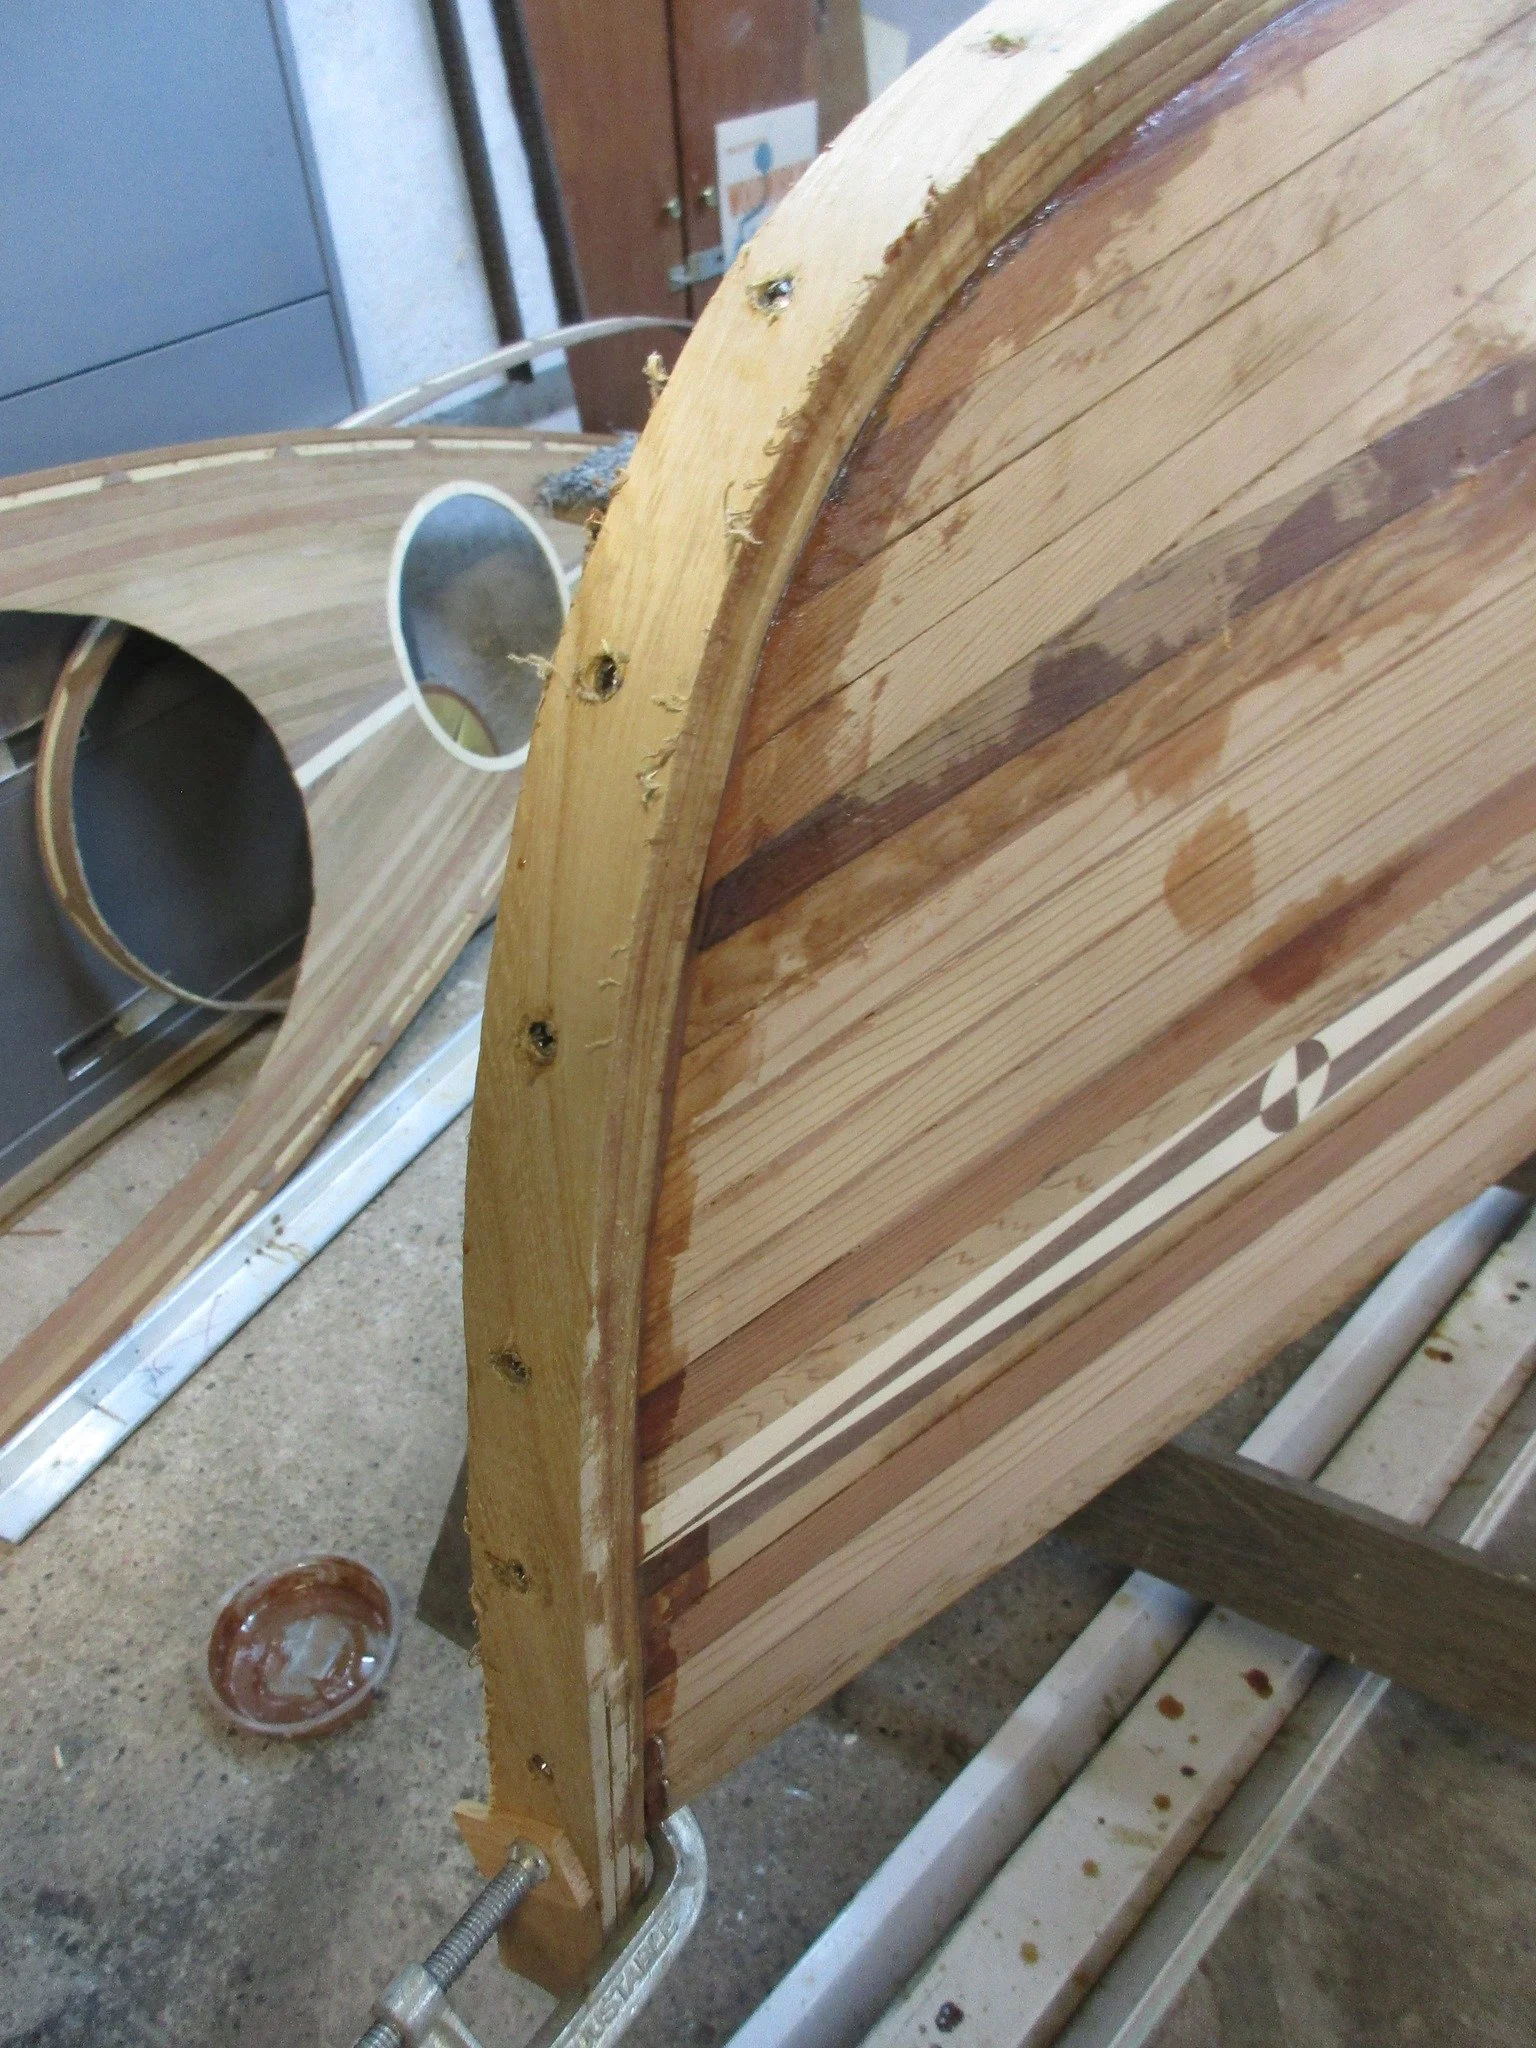
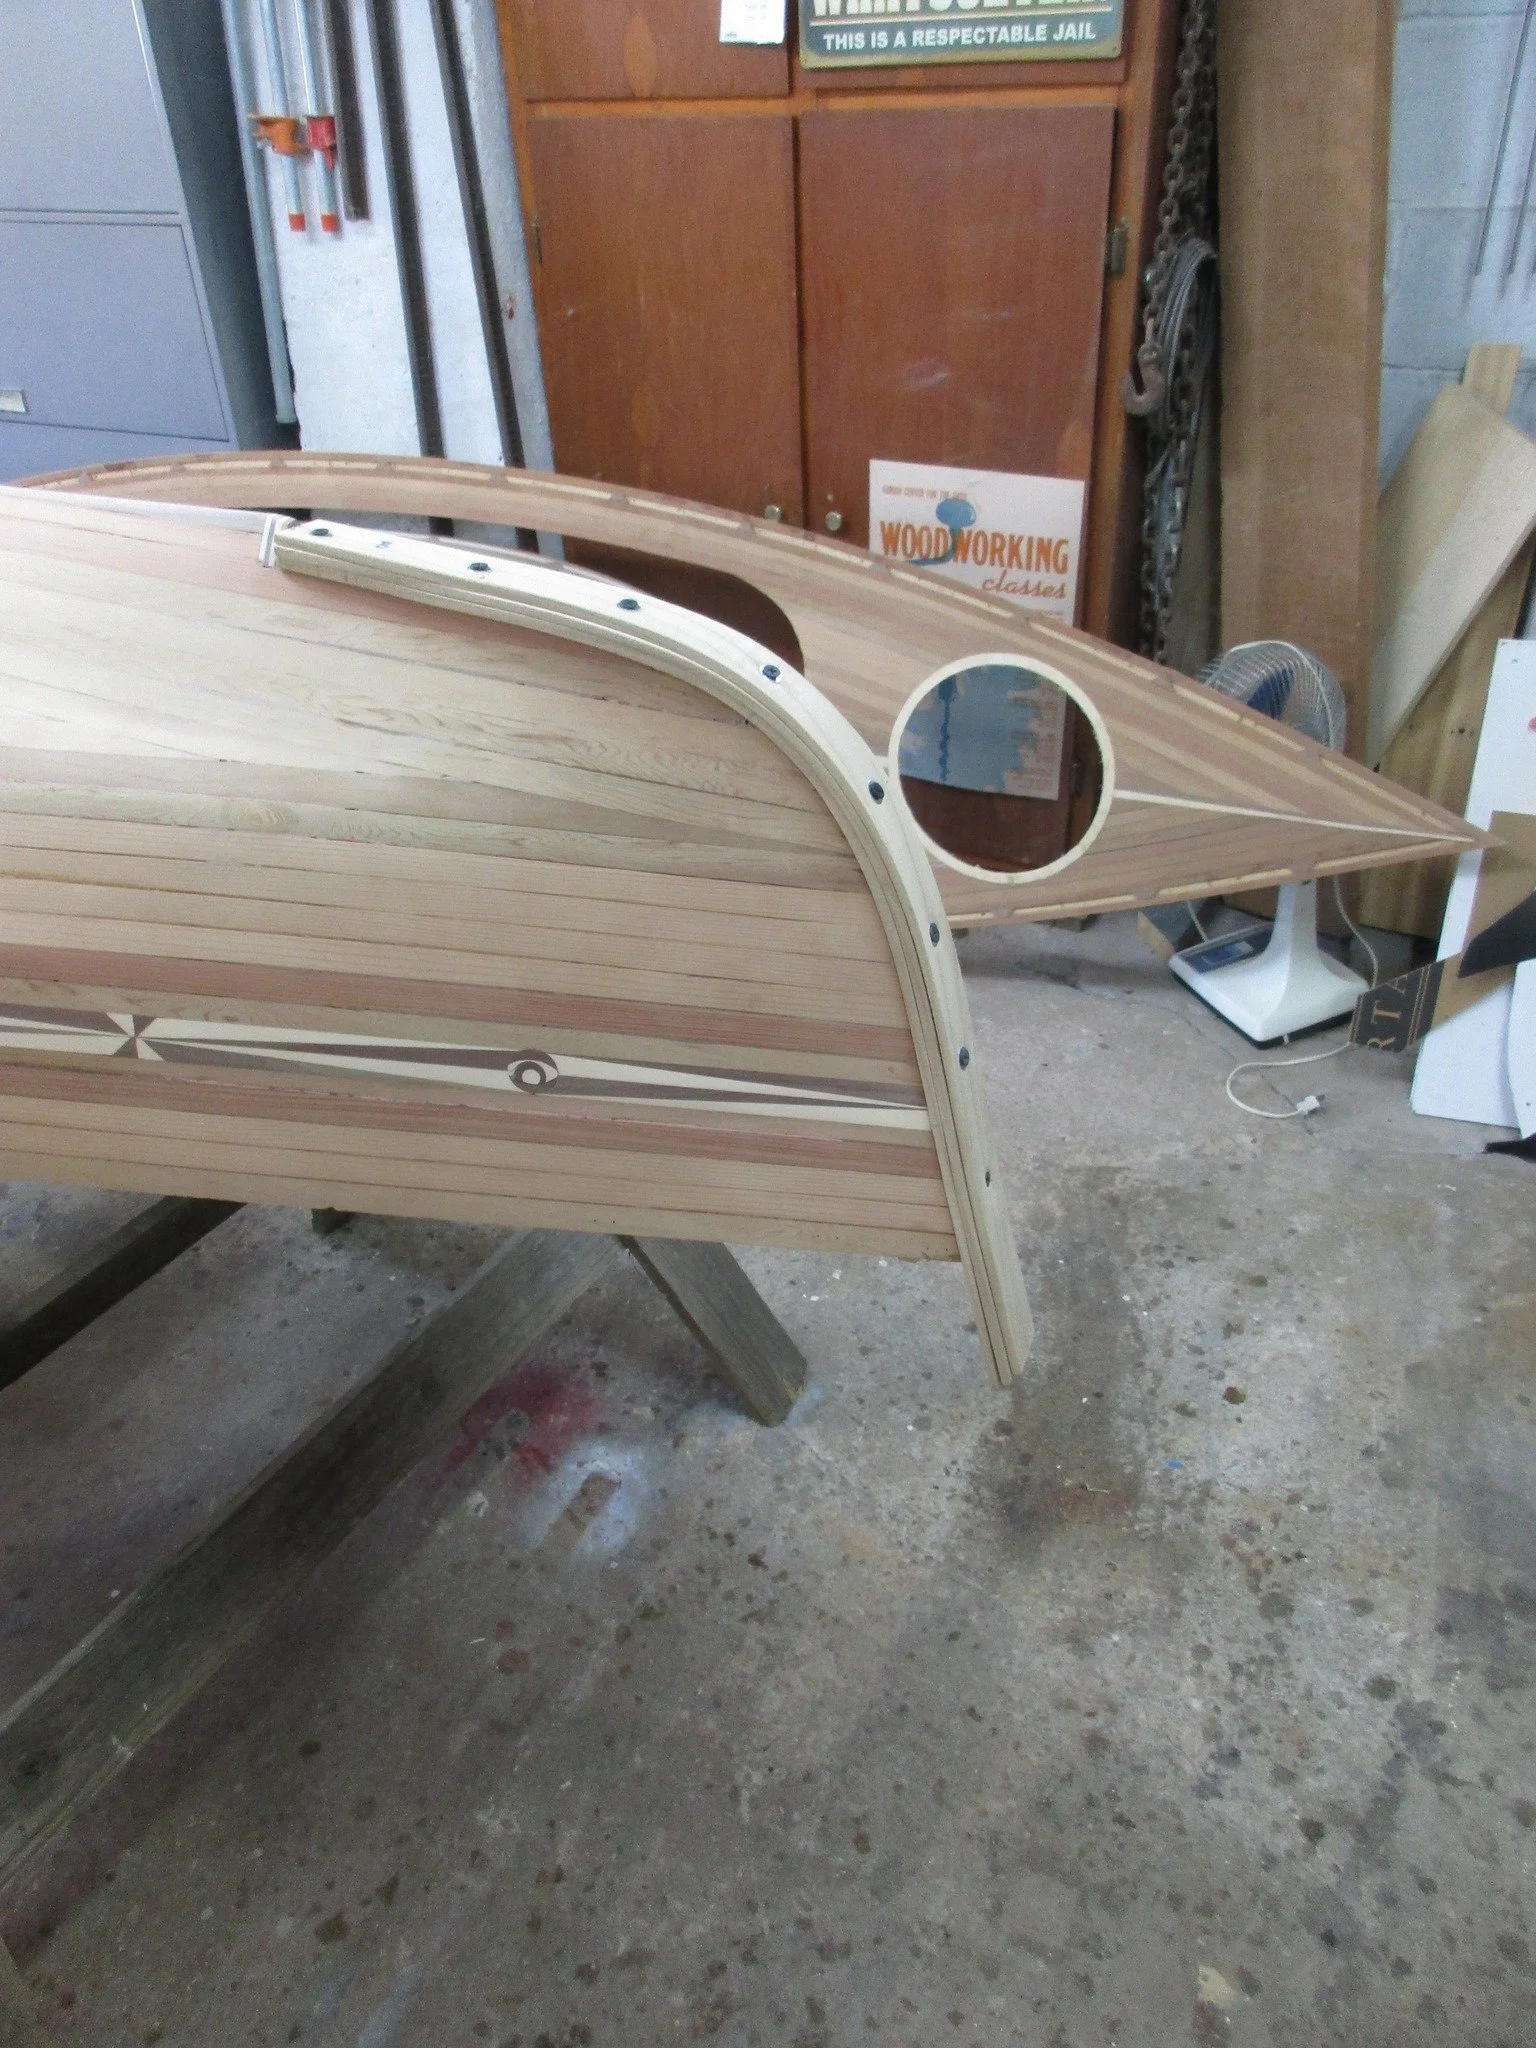
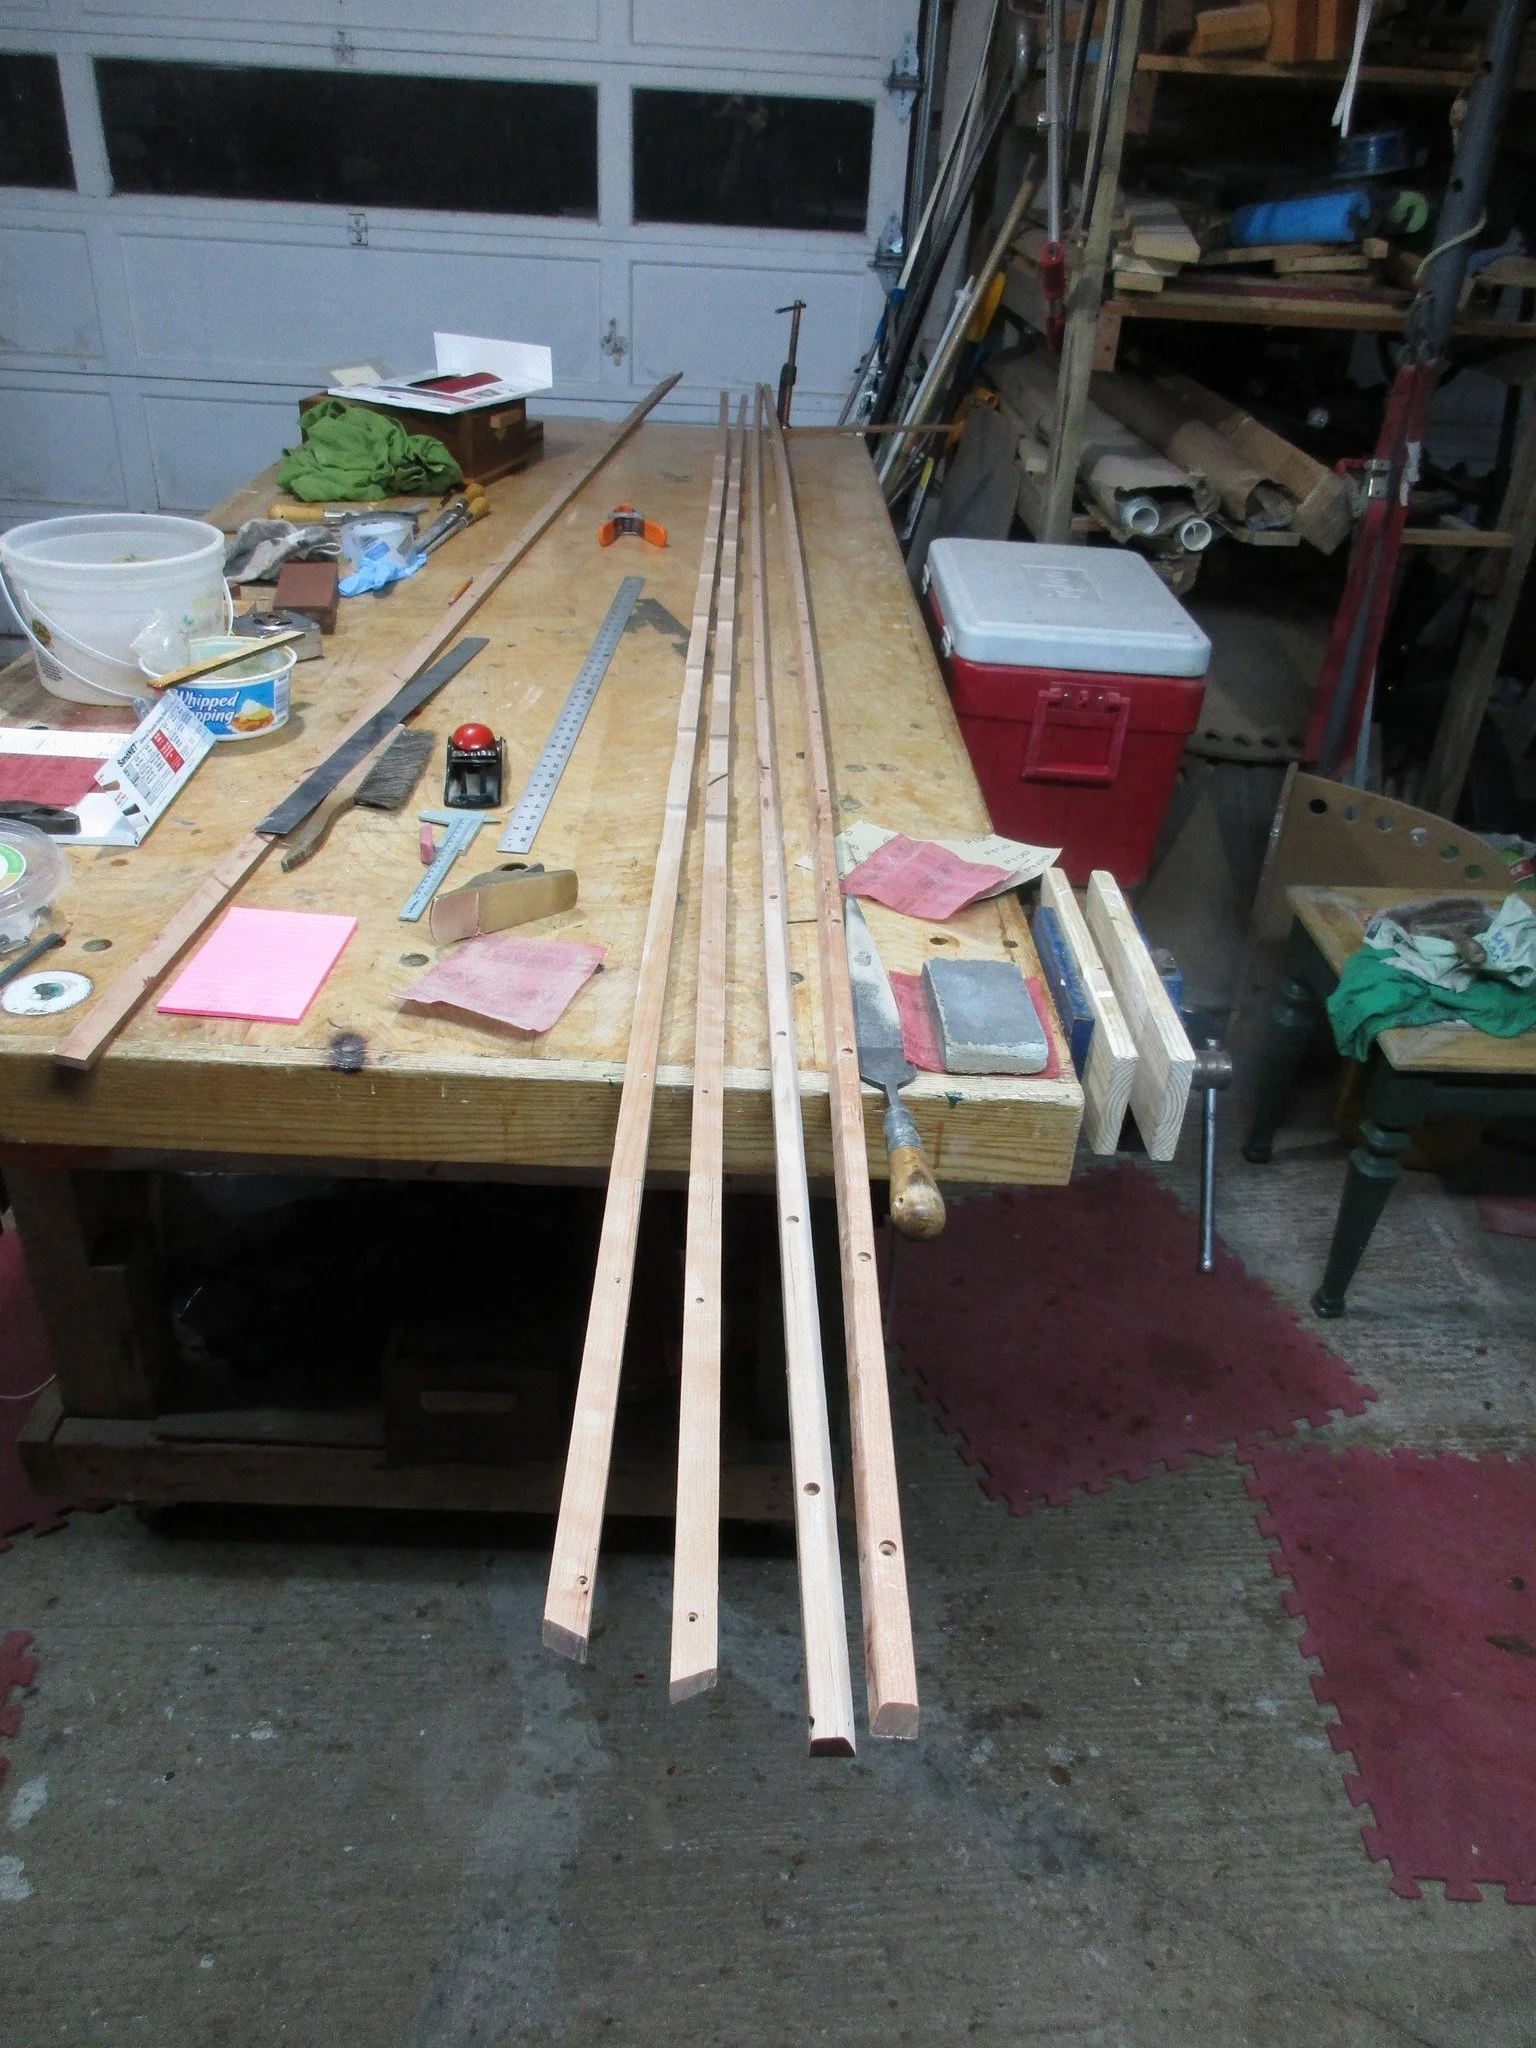
I'm still working on the four pieces of cherry that will make up the gunwales on the boat. They have paid visits to the table saw and the band saw and I've been all over them with planes and rasps. The more wood I can get off of them the easier they will be to fasten to the boat.

Read More
On, Out, Repeat

Clamp them in, take them out. Repeat. Getting the inwales cut to the right length and angles takes some time. The pieces of cherry started out being 3/4"x3/4" and I used a plane to taper them both in thickness and in width at each end. the shape of the canoe is something that the strips don't want to take and it takes a lot of clamps to hold them in place. The thinner they are, the easier they are to get bent in place.

Read More
The Wood Butcher's Art

I'm doing what I can without making a decision on the seat placement. I said I was glad to be done with the fiberglass and the main reason is that I get to move on to practicing the wood butcher's art. I'll have nine scuppers on each side of the boat, each one 4" long with 4" between each of them.

Read More
Getting Tired of the View

I'm tired of this view of the boat and am glad that it is time to move on from the fiberglass. I've got all of the coats of resin on the hull that she's going to get and I'm going to wait awhile to let it completely cure before I start sanding.

Read More
Crank Up the Coffee Pot - And The Heat!

Sunday morning early I cranked up the heaters and the coffee pot. It took me two hours to get the first coat of resin on the cloth but the subsequent coats will be quicker than that. The inside of the boat is concave in most spots and it can take some persuasion to get the cloth to stick to the hull.

Read More
Next Big Step: Fiberglass Cloth on the Interior

Next. I've got the cloth on the inside of the boat and am ready to pin it to the hull with resin. It's already noon and I like to have a full day to deal with a step like this so it won't happen before tomorrow. Hopefully it will be warmer in the next couple days, keeping the shop warm enough is tough when temps are in the 20's outside.

Read More
Almost There

Almost there. I've sanded the inside of the hull as far as I can go with the random orbital sander and now I'll hand sand the last foot or so on each end. With that cleaned up I'll put a base coat of resin on the hull and then the fiberglass cloth with another 4 coats of resin.

Read More
What You Don't Want to See in Your Canoe

What you don't want to see when you look in the bottom of your canoe. Dave's building form was good for clamping strips of wood together but not so good for being able to wipe up excess glue before it dried. I'll remove the larger chunks with chisels and then sand the rest. This might take awhile.

Read More
Saved from the Fire Pit, For Now

I couldn't act on my threat to burn the form until after I got the cloth on the outside of the hull. The hull was flimsy and prone to move and having the hull on the form was the sure way that the hull's final and permanent shape would be correct. I don't think that I need the form any more but I won't get rid of it until the boat is done.

Read More
Old Cabin Wood

If you'll indulge me. My mom's family had a cabin in western Minnesota that was our destination when we went on a "big vacation". A great uncle of mine owned a sawmill and he had bought 40 acres on Games Lake in the mid 50's. I'm guessing that he cut some lumber off of it to sell but it was never clear cut. Mom's dad ended up with the property and he used the property as a wood lot for firewood to heat the house on their quarter section that he farmed.

Read More
1-2-3-4-5 Coats of Resin

I started yesterday morning at 5 and just finished this morning at 3:30. Yesterday was a busy one with errands to run, doctor's appointment and 4 coats of resin on the boat. Before putting on the last coat of resin I trimmed most of the fiberglass off of the boat with a razor knife. There are now 5 coats of resin on the exterior and I think that will be enough.

Read More
Hanging the Fiberglass Cloth

This is what the 6 oz. fiberglass cloth looks like before it is wetted out with the epoxy resin. I like to give the cloth time to hang on the boat for a couple days to make sure that it is as wrinkle free as I can get it before I start with the resin.

Read More
Sand-o-rama

Sneak preview. The last couple days have been a sandorama. I got the stems installed and shaped to match the hull and then I started wearing out sheets of sandpaper. When the hull split in multiple places in the process of getting it off of the form I glued them all back together and that left a lot of glue residue on the hull. I had already sanded the hull smooth but the dried glue caused me to have to go back over the whole thing. That plus shaping the stems made for a lot of hours of sanding.

Read More
It's That Time Again

It's that time again. I pulled out some planes to shape the boat stems and was reminded that they need to be sharpened every so often. This is my sharpening kit; a combination diamond steel 400/600 grit, a 1200 grit King water stone, a combination water stone 3000 and 8000 grit and a leather strop that Martin gifted me. I use a Veritas honing guide to hold the blades while sharpening. Buddy Luke laughs at me for using the guide, says a real craftsman can sharpen blades without the use of a guide. I'm going to keep using the guide.

Read More
Very Nautical Looking

I've got both stems glued to the boat, one yesterday and one today. The epoxy is set up enough to work on yesterday's and I have it shaped down to a 1/2" leading edge. That 1/2" will allow me to screw a 3/8" brass stem band to the leading edge of each stem. Very nautical looking.

Read More
Well, That Was A Mess

Well, now that was a mess. If you remember that in an early post about the Dave boats I said that Dave went to great lengths to build hulls without using staples. The staples hold the strips in place while the glue dries. Dave built an incredibly complex form with a kazillion clamping surfaces to clamp the strips rather than staple them.

Read More
You Can't Work All The Time

Well, you can't work all the time! When we moved to Michigan 24 years ago I had never gone ice fishing but I figured it was something that I was going to have to do. One of my first projects was to make this box to carry my stuff and it has worked fine all this time. Not shown is my hand powered auger which is already in the truck as we took it to the lake today to do some scouting.

Read More
Smoothing the Hull, Adding Outer Stems

Unlike the three other Dave boats that I finished, this one hasn't been fiberglassed. Before laying the cloth on the hull the hull has to be sanded smoothly enough to not snag the cloth. In addition to that this hull didn't have the outer stems which will effectively act as bumpers for the boat.

Read More
Women’s Classes Are Just Unique

I taught two women’s classes in January: Women: Get to Know Your Toolbox and Women and Power Tools: Make a Toolbox. In these classes, there were a few student stories that really stood out, and I’d like to share them with you. I have omitted their names to protect their privacy.

Read More